| Your browser is not supported. | ||
|
Please browse our site using any of the following options:
| ||
Essential Repair And Bike Maintenance Tips

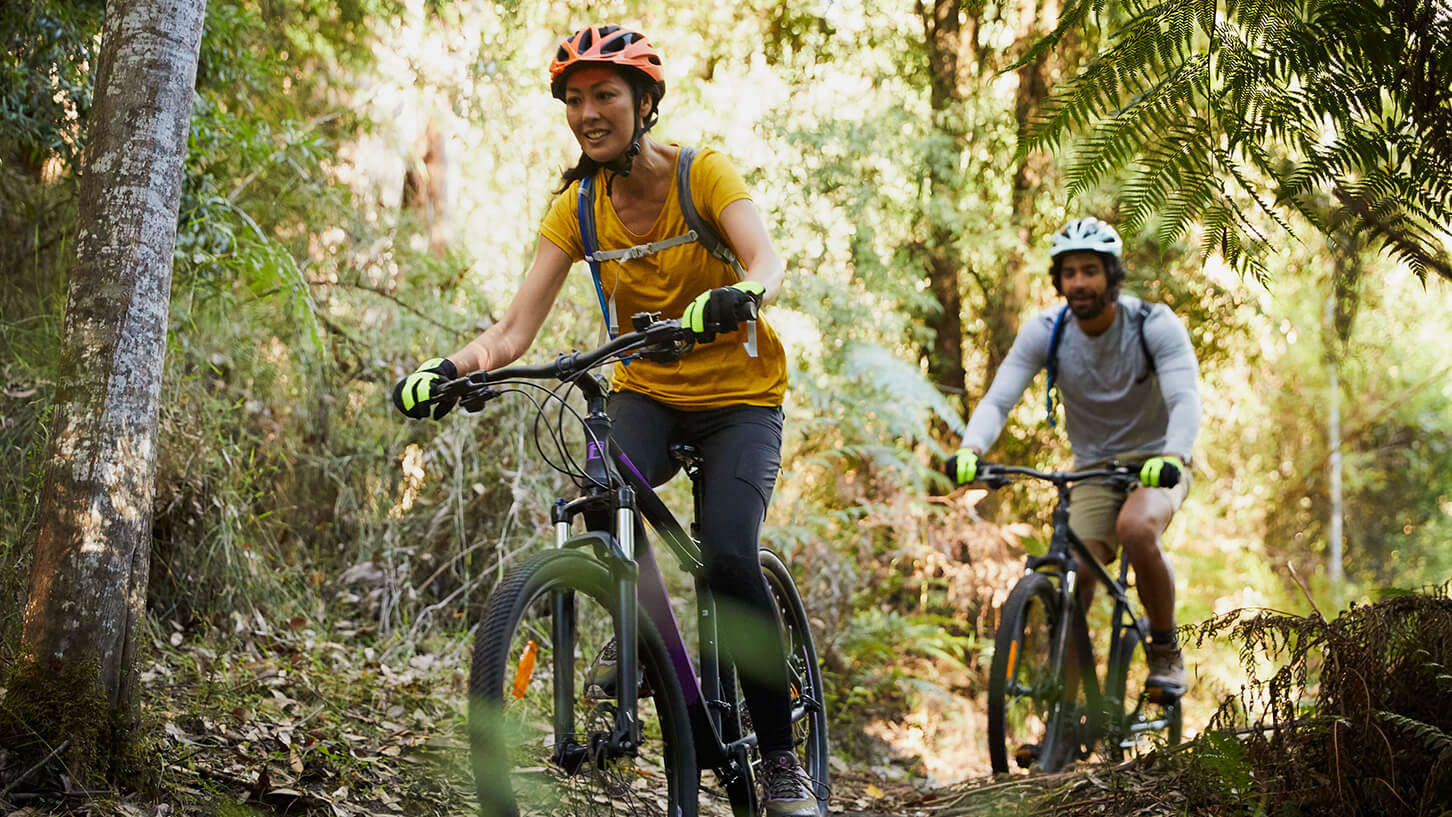
Everyone knows that cycling is a great way to stay fit. It's also fantastic for enjoying the outdoors because being on two wheels opens so many more sightseeing and camping options that four wheels just can't access. But whether road cycling is your thing or you live for trail and mountain biking escapes, taking care of your bike with some simple routine maintenance will make sure your cycling camping trip or outdoor adventure holiday is as hassle-free as possible. Here are some basic, but essential, bike repair and mountain bike maintenance tips that you can do in the comfort of your own home without having to be a Tour-de-France-level expert in bicycle repair.
Quick Links
- Have The Right Bike Maintenance Tools
- How To Do A Bike Safety M-Check
- Keep Your Bike Clean
- Pumping Up Your Tyres
- How To Fix A Bike Chain
- Changing A Flat Tyre
Have The Right Bike Maintenance Tools
Possessing the right bike maintenance tools is crucial for ensuring your bike is always good to go. Quality bike tools ensure precise adjustments, preventing wear and tear, and ensuring safe repairs, reducing downtime and enhancing your riding experience. Proper biker tools also help you tackle complex tasks, from brake adjustments to gear tuning, ensuring reliability and safety on the road. When it comes to having the right bike tools, here is what you should have in your bike arsenal:
- Chain checker
- Multi-tool
- Tyre levers
- Chain breaker tool
- Bike pump
- Tyre puncture repair kit
- Hex keys (Allen keys)
- Shock pump
- Torque wrench
How To Do A Bike Safety M-Check

As one of the best bike maintenance tips out there, knowing how to do a bike safety M-check is essential. A bike safety M-check is a quick, systematic inspection that covers the main 6 bike components in an "M" shape pattern: wheels, brakes, handlebars, seat, chain and pedals. Performing a quick M-check will ensure that your bike is safe and functional before each ride.
1: Check The Bike Wheels
- Secure Attachment: Ensure both front and rear bike wheels are properly attached to the bike frame. Check that the quick-release levers and axle nuts are tight and secure.
- Wheel Alignment: Spin each wheel and check for any wobbling or side-to-side movement. Make sure that they run smoothly without any deviations.
- Tyre Condition: Inspect the tyres for any cuts, punctures or bulges. Run your finger along the tyre to ensure the tread is in good condition and not excessively worn.
- Tyre Pressure: Check the tyre pressure using a gauge. Make sure they are always inflated to the recommended PSI indicated on the tyre sidewall.
- Spokes: Inspect the spokes for tightness, ensuring none are loose or broken. Just pinch two of them together to see if there is much movement.
- Hub Bearings: Check for smooth rotation by lifting the bike and spinning each wheel. Listen for any grinding noises, and if you do hear some, it can mean that your bearings are worn and need to be replaced.
2: Check The Seat
- Seat Post: Ensure your seat post is securely clamped and at the correct height. Tighten the seat post clamp with your Allen (hex) keys if you notice it moving.
- Seat Stability: Check for any movement by trying to twist and tilt the seat. You shouldn't feel it moving or shifting.
- Seat Condition: Do a quick check of your bike seat for any visible damage like cracks, tears or excessive wear.
3: Check The Bike Chain
- Chain Cleanliness: Inspect the chain to make sure it's free from any dirt, grime and rust, then check if the chain is adequately lubricated. If it's dry, apply some bike lubricant, wiping off any excess to prevent dirt accumulation. Make sure to let it dry before heading off.
- Chain Tension: Ensure the chain tension is correct. For a derailleur system, which is what most bikes have, check that the chain is moving smoothly as you cycle through the gears. If you have a single-speed or fixed-gear bike, the chain should have a slight up-and-down movement, about 1/2 inch.
- Chain Wear: Use a chain wear indicator tool to check for any stretching. Replace the chain if it's excessively worn to prevent damage to the cassette and chainrings.
4: Check The Bike Pedals
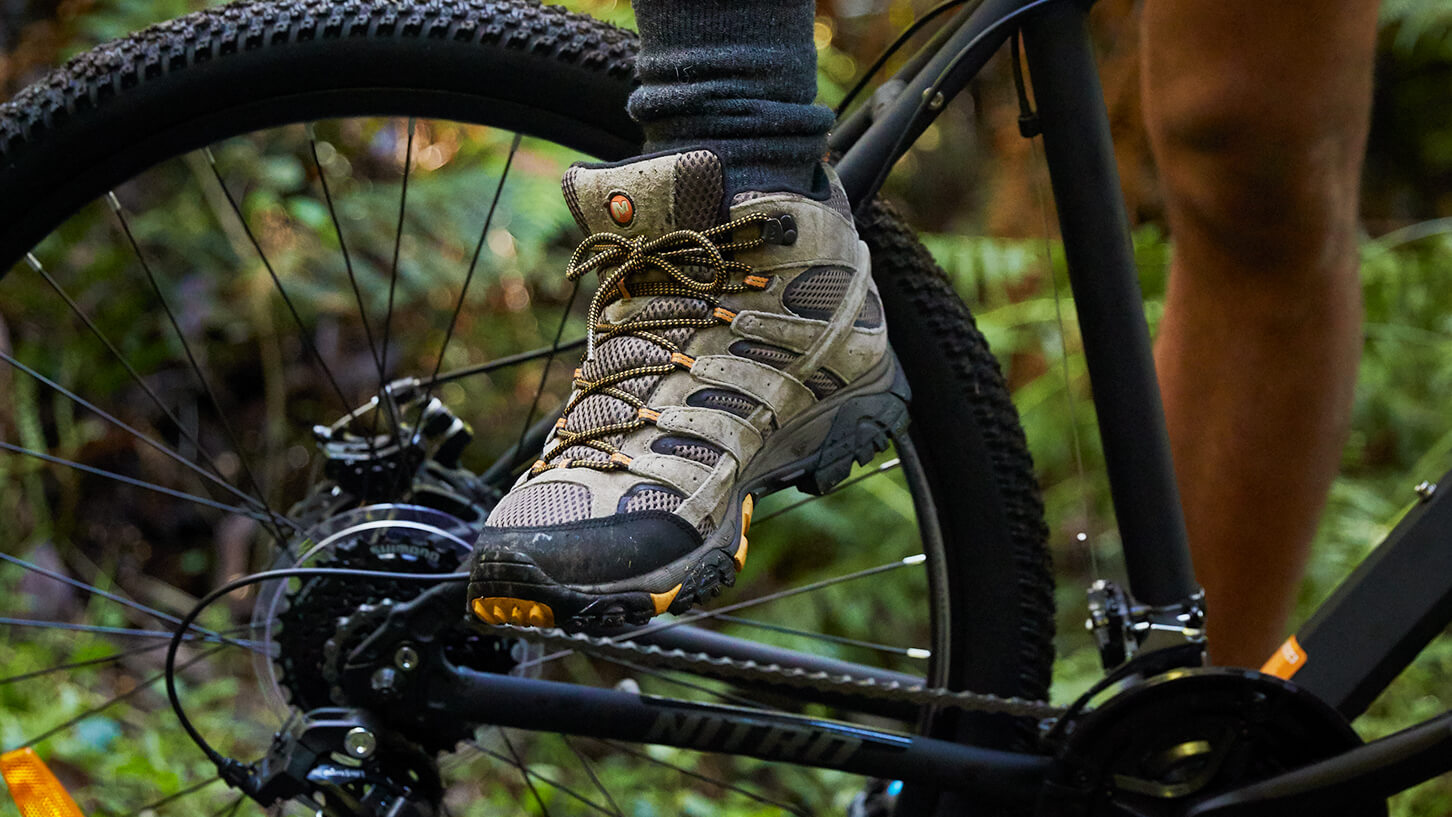
- Pedal Attachment: Ensure each bike pedal is securely fastened to the crank arms, and tighten the pedals using a pedal wrench if they are loose.
- Pedal Bearings: Check the pedal rotation by spinning them with your hand. They should spin smoothly without any grinding or resistance.
- Pedal Surface: Inspect the pedal surface for wear or damage, ensuring any grip features, such as pins or treads, are intact to provide sufficient traction.
5: Check The Handlebars
- Handlebar Alignment & Tightness: Ensure the handlebars are aligned with the front wheel. Check that the stem bolts securing the handlebars to the bike frame are tight. Use an appropriate tool (usually an Allen key) to tighten any loose bolts.
- Handlebar Condition: Inspect the handlebars for any cracks, bends or other signs of damage.
6: Check The Brakes
- Brake Lever Function: Squeeze the brake levers to ensure they engage smoothly and do not touch the handlebar when fully engaged. Check for any unusual resistance or looseness.
- Brake Pad Alignment: Ensure the brake pads align with the rim and contact it evenly when the brakes are applied. They should not touch the tyre or miss the rim.
- Brake Cable Condition: Inspect the brake cables for any fraying, rust or damage. Replace any damaged cables to ensure reliable braking.

Keep Your Bike Clean
One of the simplest road bike maintenance tips is to keep your bike clean, especially in the winter months or when you've been riding in wet conditions. Regular cleaning helps protect the critical components of your bike and makes it easier to maintain over time. To wash your bike, just apply some degreaser to your chain then wash with warm soapy water using a soft rag or sponge. After rinsing off, apply a light film of bike lubricant to the chain and the gear cassette for effective bike chain cleaning, and wipe off any excess oil to prevent grease and dirt build-up. Remember to always dry your bike off with a chamois or dry rags to prevent rusting that could lead to bike parts seizing up.
Pumping Up Your Tyres
As well as checking the air pressure, ensuring your tyres are in good condition is another essential mountain bike maintenance tip. Look for cuts, nicks, stones or glass in the tread and clean away any debris to minimise the chance of a flat. Always follow the manufacturer's instructions when it comes to tyre pressures: too firm and you're asking for punctures but too soft and you'll feel like you're riding uphill all day long.
How To Fix A Bike Chain
Riding with a damaged or poorly maintained bike chain can lead to skipping gears, chain slippage and increased wear on the cassette and chainrings, so it's important to make sure your bike chain is prim and proper. If you do need to fix your bike chain, here's how to do it:
- Preparation: To fix your bike chain, you will need a chain tool, a quick link (master link), a cleaning brush and degreaser, chain lubricant and a rag or cloth (clean).
- Assessment: Inspect the chain for damage or stiff links. Then use the brush and degreaser to clean the chain thoroughly, removing dirt and grime.
- Identify the Problem Link: If there's a stiff link, flex the chain to locate it.
- Use the Chain Tool: Position the chain tool on the chain's pin corresponding to the stiff link. Turn the handle to push the pin partially out.
- Loosen the Link: Once the pin is partially out, use the chain tool's lever to flex the chain sideways, loosening the link.
- Realign the Link: Flex the chain back and forth to ensure the link moves freely. Adjust it until it moves smoothly.
- Reconnect the Chain: If the chain was fully removed, reconnect it using a quick link or the chain tool.
- Lubricate: Apply chain lubricant to the repaired section of the chain. Wipe off any excess lubricant.
- Test the Chain: Rotate the pedals to ensure the chain moves smoothly. Shift through the gears to make sure they're engaging properly.

Changing A Flat Tyre
Like death and taxes, flat tyres are a certainty, no matter what kind of cycling you prefer. So, knowing how to fix a flat or a punctured tyre on the go is important. Here's a quick breakdown on how to change a flat tyre, but check out our How To Change A Bike Tyre Guide for in-depth steps and for how to change a tyre tube as well. To change a bike tyre, first release the brakes or remove the wheel. Use tyre levers to pry the tyre off the rim. Remove the inner tube and inspect the tyre for damage. Insert a new tyre tube, ensuring proper alignment. Inflate slightly to prevent pinching. Carefully fit the bike tyre back onto the rim, checking for proper seating, and then reattach the wheel and inflate it to the recommended pressure.
Discover All Your Bike Repair Needs At Anaconda Today
No matter where you're riding, cycling should always be fun. Looking after your equipment ensures you get the best possible safety and performance results from your bike. While you should always refer to your owner's manual for expert advice on how to properly maintain your bike or how to service a bike, these simple tips and tricks are easy enough for you to do at home before heading off on your cycling adventure. Taking the time to keep your bike clean and check the basics like your air pressure and lubricants, will ensure your day in the saddle is a memorable and safe one.
Make sure you check out our Adventure Centre for more helpful tips and exciting destinations that you can visit with your friends, loved ones and family. If you liked our Essential Repair And Bike Maintenance Tips, then you might also like some of our other helpful articles such as:
- How To Change A Bike Tyre: The Complete Guide
- Beginner Tips For Mountain Biking
- Bike Sizing Guide: What You Need to Know (Adults & Kids)
- Bikes Buying Guide
Find your local Anaconda store and check out our extensive cycling range for your next outdoor adventure